
Understand a claim
A claim protects a rectangular footprint. Its protected depth is configurable and may expand downward as you build or dig, so keep the visible footprint around homes, storage, farms, and other important builds.
Choose a claim-creation method
Your first placed chest automatically creates a radius-4 claim centered on it: 9×9 blocks, or 81 blocks of area, without requiring a Golden Shovel. For a custom claim, hold a Golden Shovel and right-click opposite corners, or use /claim <radius> with the shovel selected. A manual claim must be at least 5 blocks wide and cover at least 100 blocks in total. The command radius extends in every direction, so large values use many claim blocks; the pictured /claim 100 entry shows command entry, not a successful claim.
Type this in Minecraft chat/claim <radius>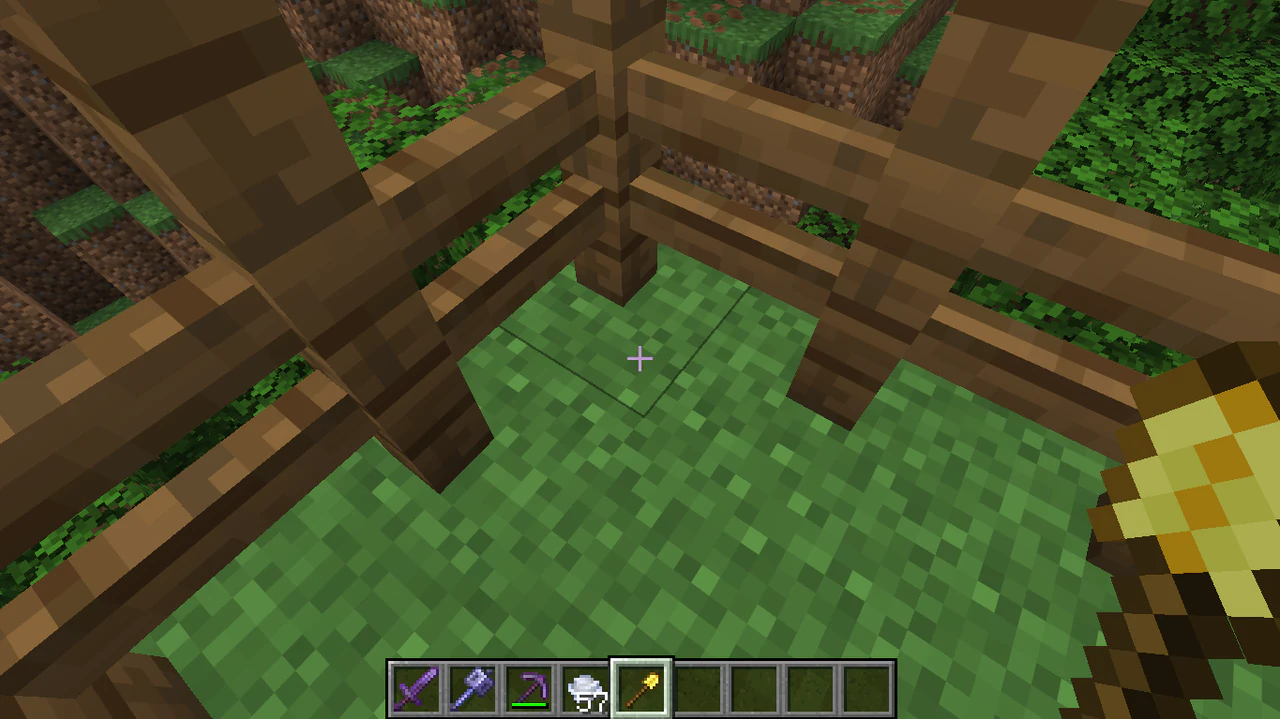
A golden shovel aimed at the first corner of a proposed land claim. 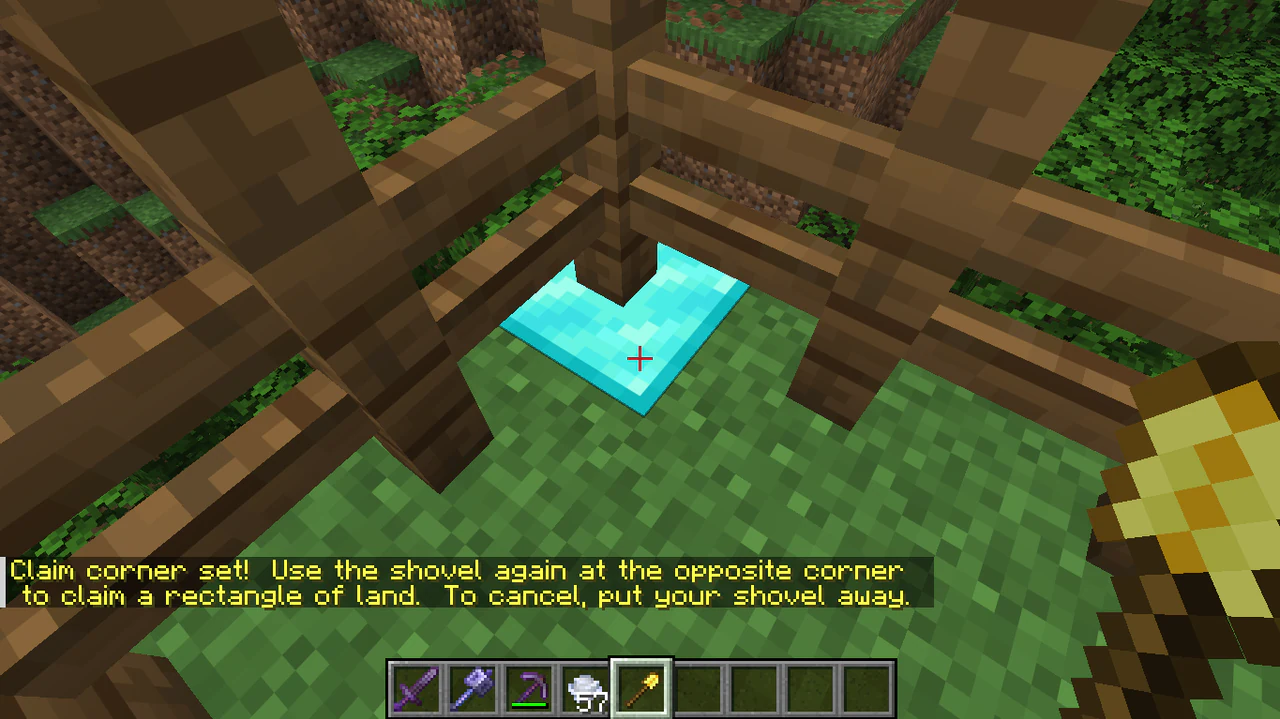
The first claim corner is highlighted while the server asks for the opposite corner. 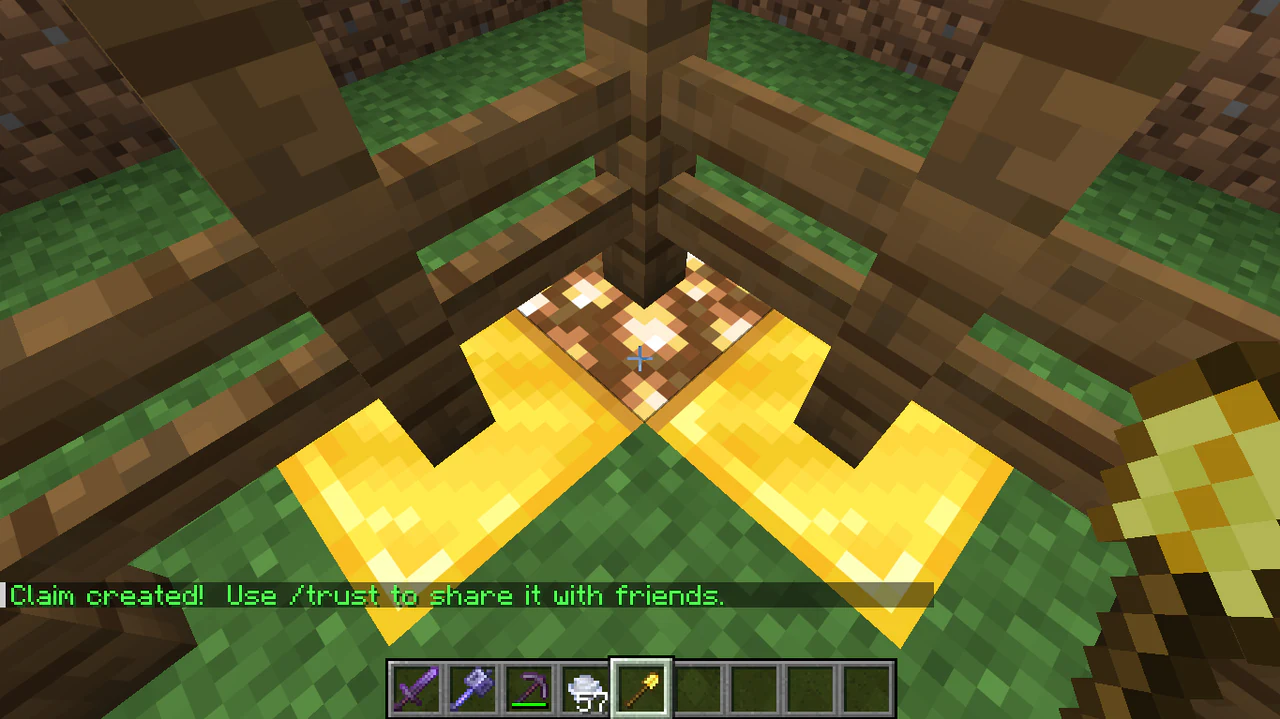
The opposite corner is highlighted and the server confirms that the land claim was created. 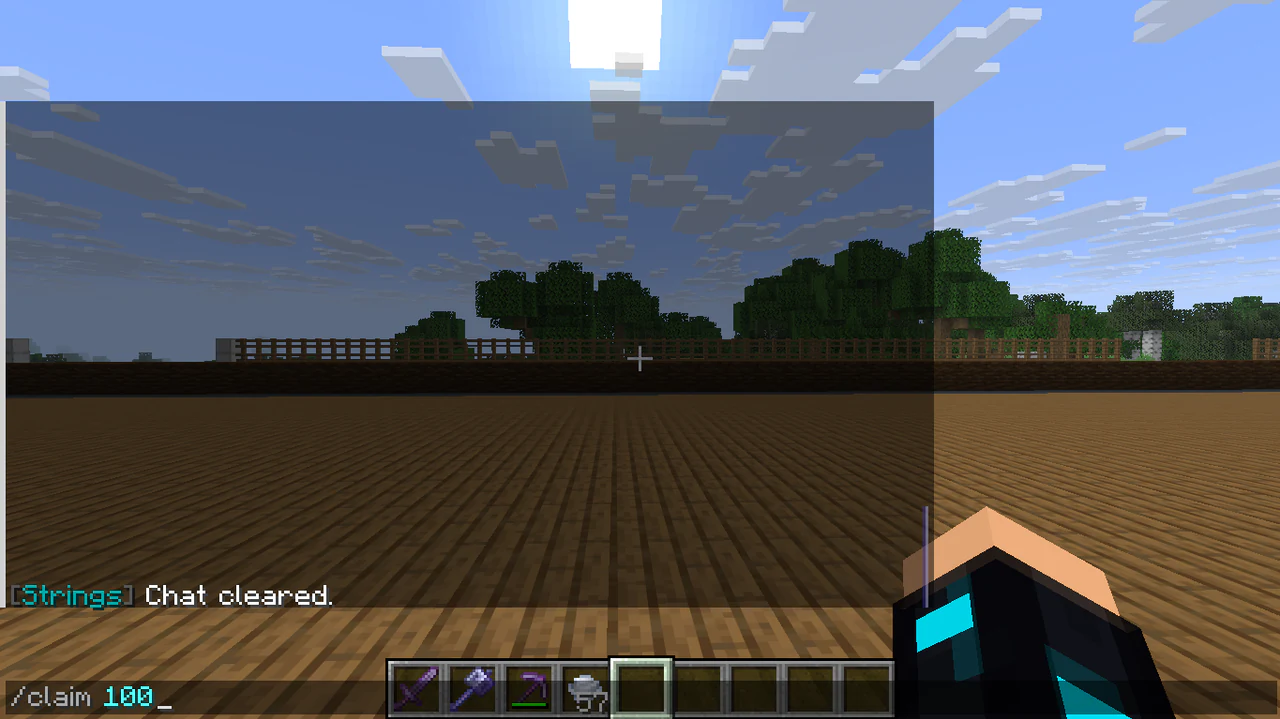
Minecraft chat shows /claim 100 entered as an alternative claim-creation method; the image does not show a success response. View your claim boundary
The live web map shades the claim footprint around your build. In game, GriefPrevention can also visualize a claim with its configured inspection tool, normally a stick; follow the server message if that tool differs.
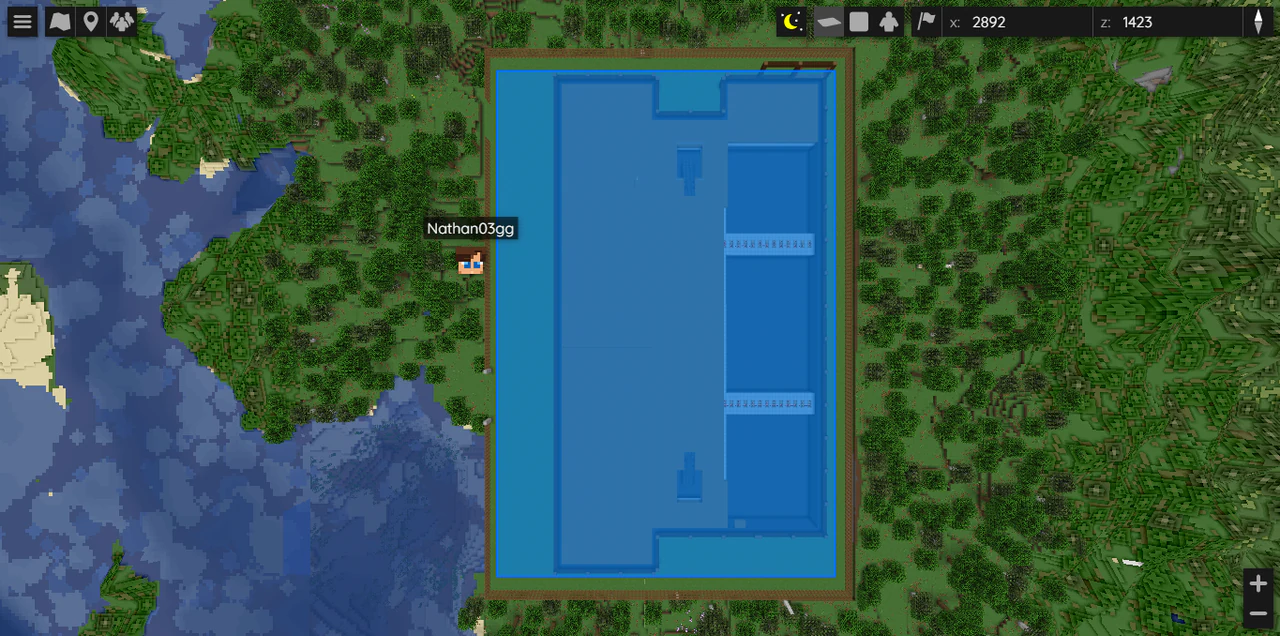
The live web map shows a large rectangular claim shaded blue around a base. Resize a claim
With a golden shovel, select an existing claim corner and move it to a new location. Make sure the resulting area still covers everything important.
Understand claim blocks
Creating or expanding claims uses claim blocks. You begin with 100 and normally earn 100 more for each hour of play. Normally accrued claim blocks stop increasing at 80,000. There is no configured limit on how many separate claims you may own, but every claim still uses your available claim blocks.
Trust another player
Stand inside the claim and grant full building access only to someone you trust. Replace <player> with their exact username.
Type this in Minecraft chat/trust <player>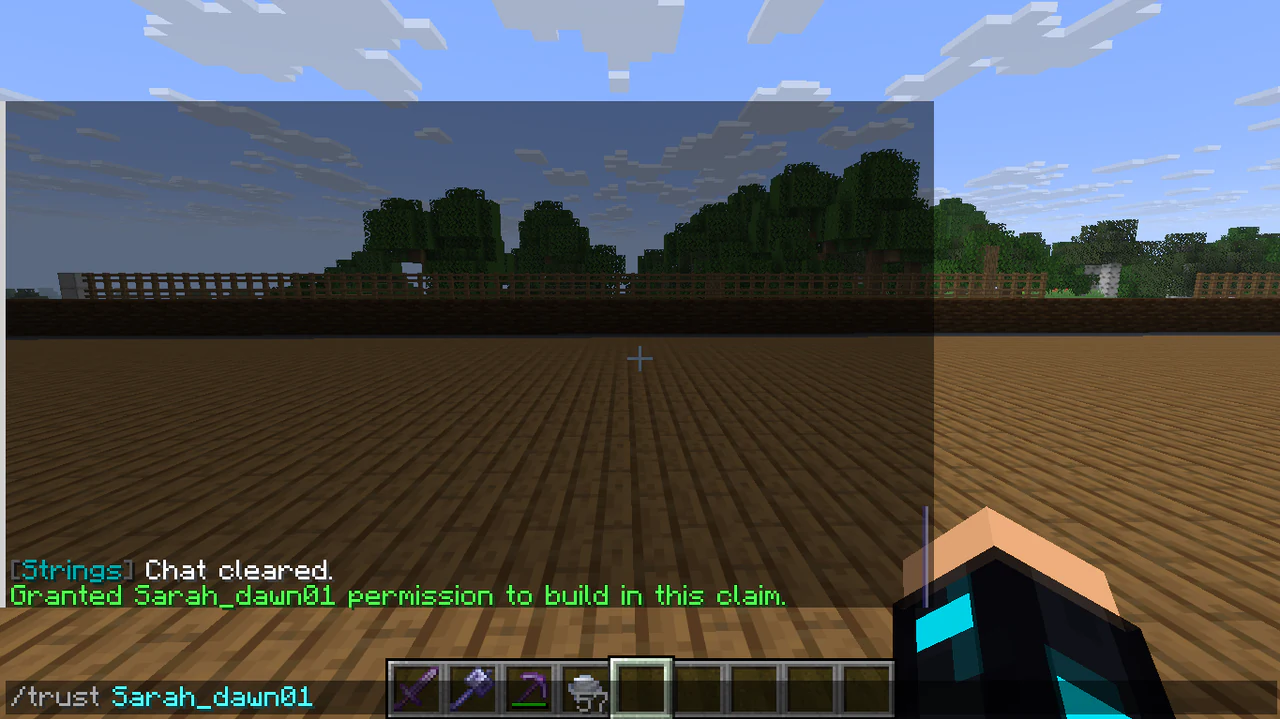
Minecraft chat confirms that another player received building permission inside the claim. Use narrower trust when appropriate
Access trust covers buttons, levers, and beds. Container trust adds containers, animals, and crafting equipment. Permission trust lets a player share only the permission level you gave them. Verify the server response after every command.
Type this in Minecraft chat/accesstrust <player>Remove trust
Stand in the relevant claim and remove a player when they no longer need access.
Type this in Minecraft chat/untrust <player>Remove a claim
Only abandon a claim when you are sure its builds and storage no longer need protection. Confirm any prompt the server shows.
Type this in Minecraft chat/abandonclaimUse subdivisions only when needed
Subdivisions give different permissions to smaller areas inside a main claim. Run /SubdivideClaims and follow the in-game prompts to enter subdivision mode. This is available through the normal griefprevention.claims permission, which the plugin grants to players by default unless the server permissions system explicitly denies it.
Claim considerately
Leave reasonable space around neighbors, roads, public projects, and scenic areas. Do not use claims to trap players, block access, or reserve excessive unused land.
If something goes wrong
- Check that you are standing inside the intended claim.
- Confirm the username and trust level before granting access.
- Take screenshots of claim boundaries and server messages when reporting a problem.
- Ask a moderator before abandoning a claim you cannot safely recreate.